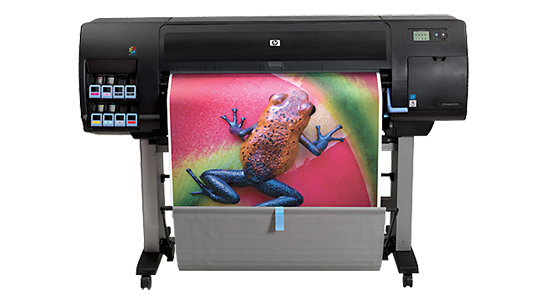
Digital photography and graphics work has made many things simpler, but there’s a problem: viewing graphics on a backlit screen is much different than viewing them on paper. Without the right printer settings, the printed colors can be drastically different than what you expect. Here are four things you need to try if the colors from your HP Designjet printer aren’t what you expected.
1. Calibrate the monitor
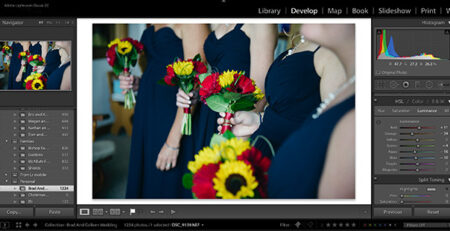
Don’t blame the printer just yet — it could be your monitor. The factory defaults aren’t always the best viewing conditions and can sometimes lead to big color differences between prints and the screen, and calibrating your monitor can make a big difference. Both PCs and Macs come with tools to help calibrate your monitor. For the most advanced needs, physical color collaboration tools take out the guesswork.
2. Calibrate the printer
Different conditions and even different ink cartridges affect the way that the colors look in your final prints. Printer calibration ensures that the printer is getting accurate colors. Calibration isn’t a one-and-done deal though — along with calibrating when you change the ink or paper type, you should calibrate for environmental changes (like the change to summer humidity) and whenever your printer hasn’t been used for awhile. Thankfully, color calibration from a Designjet is very simple — you print out a test sheet, let it dry, then scan it. (You can find the exact steps from HP here)
3. Select the “Printer Manage Colors” option
Once everything is calibrated, you should tell your computer that you want your printer to manage the colors, and you should do this both in the driver settings by accessing the printer from your computer’s control panel, and in the application you are using to print. First make sure the the “Printer manage colors” option is checked inside your printer settings — the exact location depends on the computer that you are using, but you can usually find it in the color tab.
Next, find that option in the program you are printing from. To do that, go to print, then hit “Advanced.” In some applications, you’ll check the box that says “let the printer manage colors” while in others you’ll select “printer manages colors” from the color handling drop down menu. In Photoshop, you don’t even have to click on the advanced tab to select the printer from the color management drop down menu.
Click to download an overview of these steps.
4. Choose the correct rendering
Finally, you’ll want to make sure that you let your printer know what you’re printing so it knows how to handle the colors. In the same window that you used to select the printer color management, look for an option that says “rendering” or “rendering intent.” Then, select the correct option based on what type of document you are working with:
• Perpetual: Photographs
• Relative Colorimetric: Line art and logo graphs
• Absolute Colorimetric: To simulate paper
• Saturation: For business graphics, such as charts
Getting accurate colors from screen to print is tricky, but not impossible. With a color calibrated screen and printer, simply tell the computer what type of graphic you are printing and to let the printer manage the colors.


