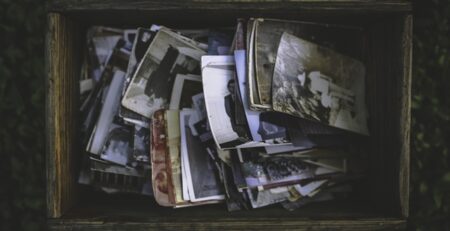
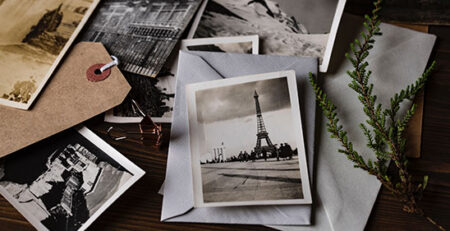
There’s no way around it, printed pictures fade overtime. Digitising old photos not only makes them easy to share, but it also prevents any more age damage, not to mention avoiding a physical disaster like a fire or a flood destroying memories by using a cloud backup service. But, scanning old photos isn’t as simple as putting photos in a scanner and pushing a button — at least, not if you want top notch results anyways. Here are six tips that will help you get better results when scanning old photos.
Clean the photo first.
Dust, dirt and even stray hair can degrade the quality of a photo. Before you scan, prep the photo by using a soft brush to clean the front — the same brush you’d use to clean a camera lens. Alternately, you can also try a microfiber cloth. While in many cases dust spots can be removed with software, the quickest method is to swipe the dust off before you scan. If a print is torn, align the edges as good as you can and tape the back before scanning. Major stains and tears will likely have to removed by a professional.
Don’t forget to clean the scanner too.
Yes, scanners will also collect dust as they sit. Clean the glass plate of the scanner with a microfiber cloth. If you can’t remove everything with the cloth, you can use a glass cleaner, but be very careful not to leave streaks — because those aren’t fun to remove either.
Set up the scanner for the best results.
While there are apps that will “scan” a photo using a smartphone camera, for the best results — and highest resolution — a scanner is still best. Make sure you’re set up for success though, by setting the scanner to the highest resolution possible inside the scanner options. Scanner software can also make the job easier — many scanners, if you scan multiple images at once, will crop them automatically.
Open the scans in a dedicated photo editor.
If you happen to be a Photoshop subscriber, great. If not, you’ll still want to edit your photos. If you don’t own Photoshop or an alternative like Corel PaintShop, you can access free online photo editors, such as Fotor. Alternately, many programs offer a one-month free trial to test. Start by cropping and straightening, if your scanner didn’t already do that for you.
Think color.
Film has characteristic colors that are now popular to emulate digitally, but you may want to consider some color and contrast adjustments on your scanned shots. If a photo has faded, you can add back some quality by increasing contrast and adjusting the exposure. You can also use color controls, like saturation and vibrance, to add some life back in the photo.
Correct with the heal or clone tool.
Chances are, some of your scanned photos can have damage or dust spots that couldn’t be removed ahead of time. Since it’s simplest, start by using the healing brush tool, available in most photo editors. If that doesn’t work, the clone tool can replace the damaged area with another spot from the same photo.
Old family memories shouldn’t be kept in a box — but doing more than just a simple scan will help keep those moments in-tact for generations to come.


