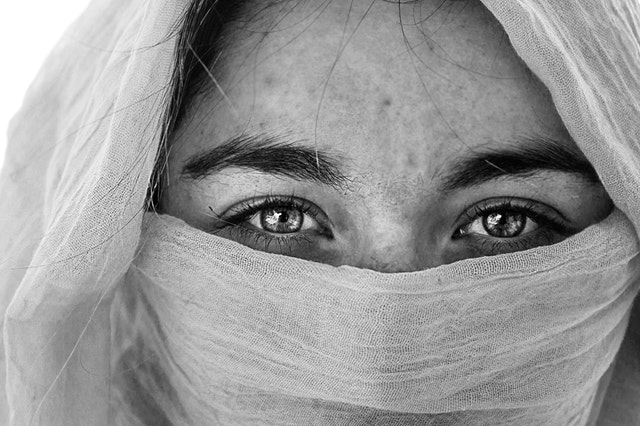
Black and white photography may be as old as, well, pretty much photography itself, but there’s something about a colorless image. When the color is removed from the photo, the eye focus more on shapes, shadows and patterns, making the type of monochrome format an excellent tool for a number of different subjects. But, the best black and white images are envisioned before the photographer even presses the shutter release. So, how do you take great black and white photos? Here are four black and white photography tips.
Change the color profile — but shoot in RAW.
Most cameras will have the option to change to a black and white color profile, which means those previews you see on the back of the screen will be in black and white, and with some cameras with electronic viewfinders, you can see what the black and white conversion would look like as you shoot. This simple switch makes it easy to visualize how color scenes would look without color.
But, for the best results, there’s one more step. Believe it or not, there are a number of different ways that color can convert to black and white — allowing the camera to do the conversion is like shooting on auto. Instead, maintain creative control over exactly how that color converts by shooting in RAW. In RAW, those camera color profiles aren’t applied, which means you can see the general effect in-camera, but you have full control over how that color converts in post.
Look for shapes, pattern and light as you compose.
Removing the color from a photo forces the viewer to consider everything else. As a photographer, when composing a black and white image, look for scenes that are absolutely striking even without color. Look for patterns that might be even more obvious in a black and white shots. Shapes and leading lines are great in any photograph but keep a careful eye out for hem when shooting for black and white. Black and white can also make difficult lighting appear more striking and intentional, whether that’s boring flat light or hard, high contrast light.
Aim for a wide range of grays.
Ideally, a black and white photo should have both a true black and a true white, but also plenty of grays in between. The more different tones the image has, the more contrast and punch the final image will have. Some of this is post, but some of this is also shooting and looking for scenes with lots of contrast. If you need, you can even try the high dynamic range technique to introduce a wider range of grays.
Play with the color sliders.
Don’t settle for the one-click black and white conversions. In Lightroom, head right to the B&W section on the HSL Color panel. Next, experiment with the sliders and watch how the tones in the image change. (You can do the same thing in Photoshop by adding a black and white adjustment layer). Lightening oranges, for example, will brighten skin tones. The greens and blues can be particularly helpful for landscape images. By adjusting each color individually, you can create a black and white that’s full of contrast or even create a matte look.
Black and white may have fewer details without those colors, but that means viewers will be taking a closer look at what’s in that shot — so put these black and white photography tips to good use the next time you shoot.


