A camera doesn’t do you any good if you don’t have it with you — with smartphone photography, a camera is almost always easy to access. The iPhone is now one of the most popular cameras because of that easy access, but easy access doesn’t necessarily mean good photos. For good photos, you need more than just a decent pocketable camera — you need a creative eye and a bit of understanding on how photography works. Here are four iPhone photography tips to get you started.
Tap to focus and expose.
The iPhone’s touchscreen interface makes it easy to both focus and adjust he exposure, or how light or dark the photo is. Before shooting that photo, tap where you want the camera to focus. This will also help make sure that area of the photo is well lit, but if it’s too light or too dark, tap the sun icon next to the focus box and drag your finger up or down to adjust.
Look for the light.
You can’t take a picture in a dark room — light is essential to photography. Light is also often what makes the difference between a snapshot and a photograph. So what does it mean to look for light? Start by looking at where the shadows are and how dark they are. Patches of light from windows or sunlight streaming through trees can make some dramatic photographs because of that light. On the opposite end, shade or light coming from a cloudy day is easier to work with for shooting portraits or any scenario where you may want minimal shadows. If the subject is dark or shadowy, try moving them or moving the camera for a better shot.
Flash isn’t just for the dark.
Smartphone flashes in a dark room create some funny shadows and, on people, red eyes. But the best use of the iPhone flash isn’t to light up a dark scene, it’s to fill out those odd shadows. If you see that the background is overexposed (i.e. too light) or that the person you are photographing has dark shadows under their eyes, turn the flash to on instead of auto by tapping the lighting bolt icon at the top of the screen in camera mode. Flash helps to fill in shadows and give the photo a bit more pop — and that works especially well for shooting on bright days.
Get creative with composition.
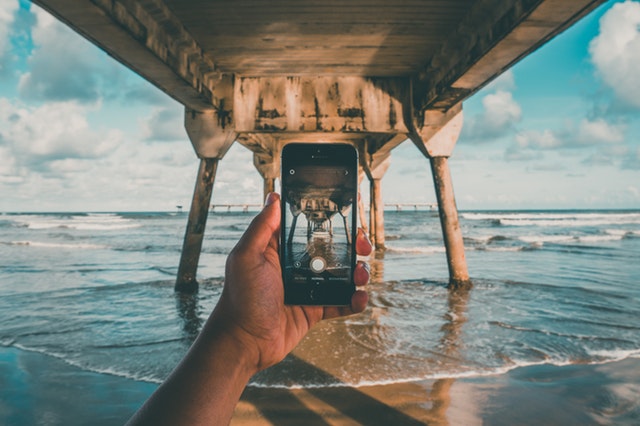
The iPhone’s small size may mean that is doesn’t have the resolution of the DSLR, but that small size can be used for more creative shots. Look for unique angles as you shoot. Don’t automatically shoot from eye level. From a low angle like kneeling or lying on the ground, objects appear larger and more significant. From a higher angle, you can see more of the scene and objects tend to appear smaller. Eye-level and higher angles also tend to be more flattering for portraits.
The iPhone sports one of the best cameras for the compact size, but learning just how to use that camera can take the device’s capabilities even further.


