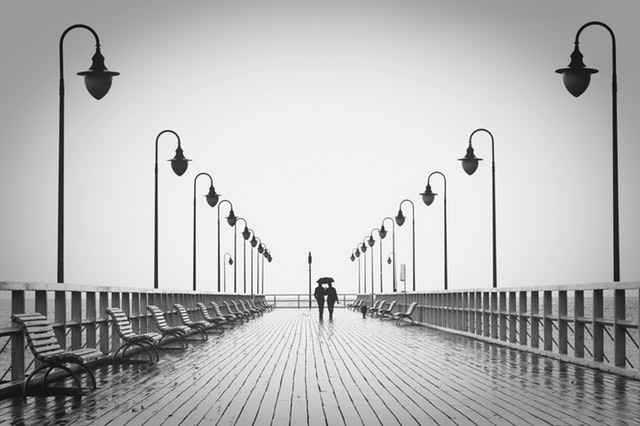
Black and white photography is classic. Timeless. And yet, there are so many different ways to create a black and white image. There’s the one-click options. The Instagram-like filters. While these are great for speed, there’s another option for photographers that want to get every shade of gray perfect. By using the HSL panel in Lightroom, you can control how each color converts for the most control over the final results. Here’s how to get the best black and white conversion in Lightroom Classic.
Step 1: Get the exposure right first.
First, correct any exposure errors in the basic panel by adjusting the exposure slider. Having a good exposure from the start before you’ve even converted to black and white will help you make the best decisions on how to convert each color. You can always come back and continue to fine-tune (and probably will).
Inside the basic panel, make sure the color options are untouched, with the white balance as shot and the vibrance and saturation sliders set to zero.
Step 2: Convert to black and white in the HSL panel.
There are multiple ways to convert to black and white, but the HSL offers easy, yet custom control over the way the colors convert. Scroll down to the HSL panel in the right-hand toolbar and click on B & W. Lightroom will then convert the file for you.
Step 3: Control each color channel.
Inside the B & W section of the HSL panel, you can now control how each color converts, making each channel lighter or darker in the conversion. By controlling how each color converts, you can add contrast or create a matte look, make skin tones pop or allow a certain object in the photo to stand out more (or less) from the background.
Lightroom has two different ways to control each color. First, you can use the sliders dedicated to each color, pulling to the left to darken or to the right to lighten and previewing those shots in real time.
Another option is to use the targeted tool, which tends to work better if you aren’t sure what color channel to adjust for a specific area.. You can find the tool by clicking the circle icon in the upper left corner of the B & W sidebar. Now, you can control the conversion with your mouse instead of the slider. As you hoover over areas of the image, the corresponding color slider will be highlighted, allowing you to see what colors are in that selection. Click that area of the image and drag the mouse up to lighten or down to darken. Just like using the sliders, only that color channel (or channels in some cases) will be affected.
Adjust each color channel until you have achieved the desired look — and remember, Lightroom is non-destructive so you can go back and make changes again later.
Step 4: Finish the edits.
Editing a black and white image doesn’t have to be done only in the B & W panel. With the colors converted, you can continue editing the shot as you normally would — just avoid the controls typically associated with color like saturation and white balance. You can fine-tune the exposure, create even more contrast using curves, apply local adjustments such as a dodge and burn, or sharpen the image.
Black and white photographs are often powerful images, but in order to harness that power, you need to control the conversion. Thankfully, black and white edits are both simple and versatile inside Lightroom.


